
Cleaning kitchen cabinets is simple when you know the one rule that matters: a soft microfiber cloth, a little dish soap in warm water, wipe, rinse, and dry. That method is safe on every cabinet finish we sell — painted, stained wood, laminate, and high-gloss. Nearly every cabinet ruined by cleaning was ruined by something stronger: an abrasive sponge, an ammonia spray, a soaked-through cloth, or a "miracle" product that turned out to be sandpaper in disguise.
We've seen ten-year-old kitchens that look showroom-new and three-year-old kitchens with finish worn through around every handle — and the difference is almost never the cabinet quality. It's the care routine. Here's the full guide we give our own customers: the safe routine, what changes by finish, the grease problem, and the mistakes that do permanent damage.
Table of Contents
Why Proper Cabinet Care Matters
Your cabinet's finish is a thin protective shell — factory-baked paint, catalyzed varnish over stain, or a fused laminate skin. It's engineered to shrug off splashes, steam, and everyday fingerprints; quality certified finishes are literally tested against coffee, ketchup, lemon, and detergent. What that shell is not built for is chemical and mechanical attack: solvents dissolve it, abrasives sand through it, and standing water creeps into joints and swells the wood underneath.
Once the finish is breached, problems compound. Bare edges absorb moisture, paint lifts around handles, and grease works into wood grain where no cleaner can reach it. Care matters because finish damage is one-way — a wiped-up spill costs nothing, while a stripped or water-damaged door means refinishing or replacement. Good news: the protective routine takes minutes a week.
The Safe Cleaning Routine for Any Cabinet
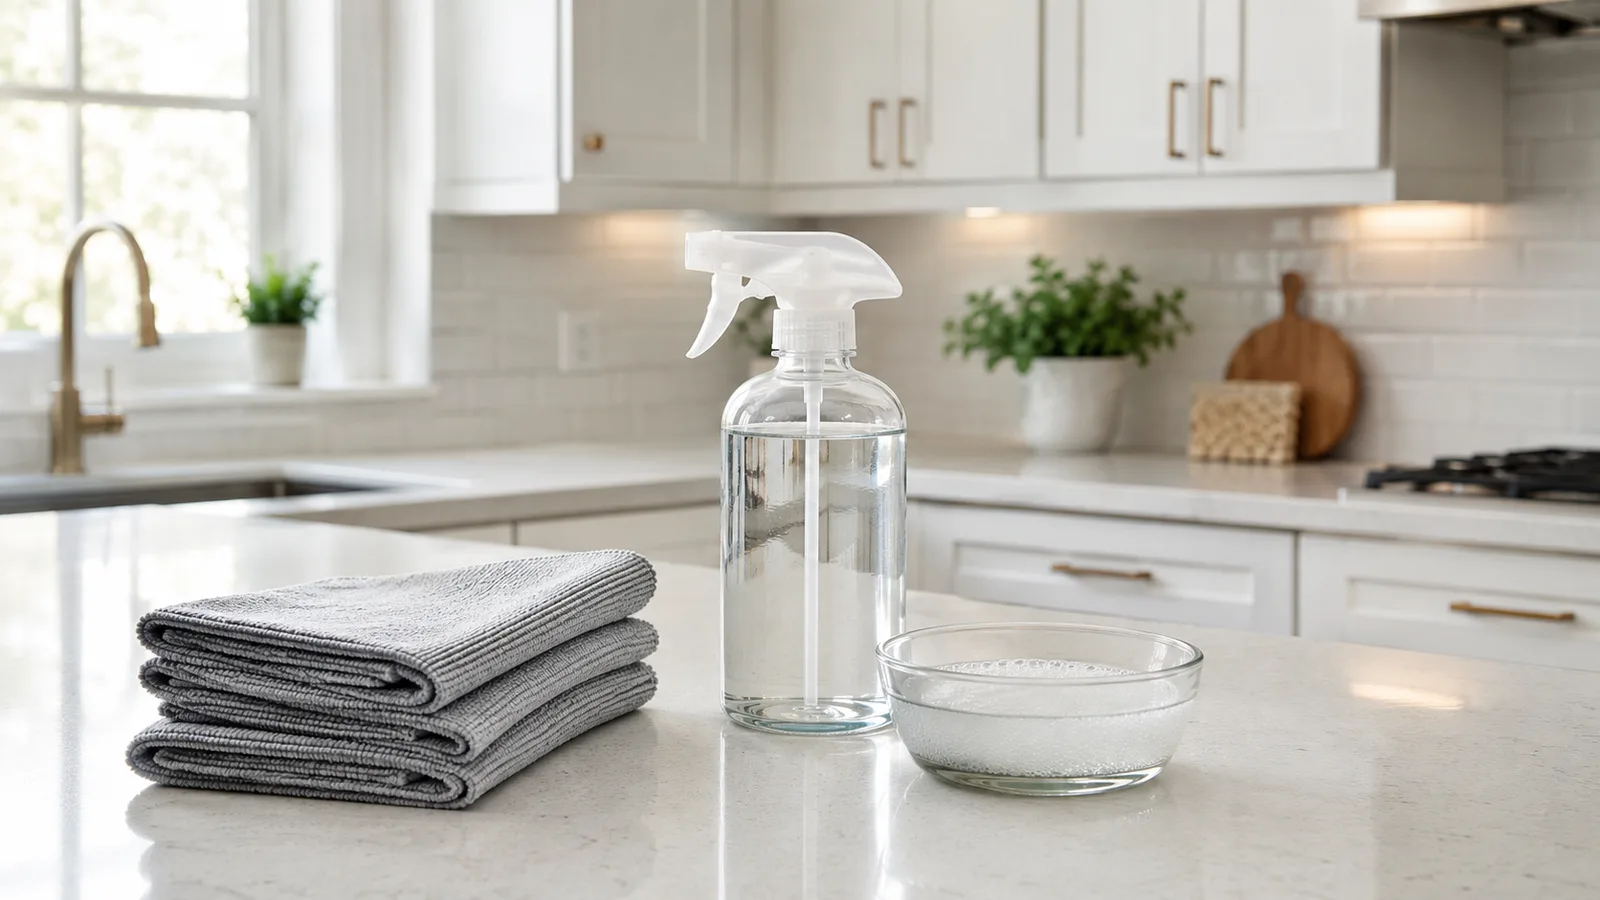
This is the whole method — safe on every finish type in every brand we carry:
- Mix a few drops of mild dish soap into warm water. No ammonia, no vinegar concentrates, no "degreasers" yet.
- Dampen a soft microfiber cloth and wring it nearly dry — damp, never dripping.
- Wipe doors, frames, and handles top to bottom. On stained wood, always wipe with the grain.
- Rinse with a second cloth and plain water to lift soap residue.
- Dry immediately with a clean towel. Never let water sit on joints, seams, or edges.
Frequency: wipe the high-touch zones — handles, the doors around the range and under the sink — weekly; do all cabinet faces monthly; and spot-clean spills the moment they happen. Condiments like mustard can stain a painted finish in hours, and dried splatter takes ten times the scrubbing of fresh splatter — which is exactly the scrubbing you're trying to avoid.
Cleaning Different Cabinet Finishes
The soap-and-water routine is universal; where finishes differ is in what else they tolerate. Quick reference:
| Finish | Safe | Never |
|---|---|---|
| Painted | Mild soap, prompt spill cleanup | Magic erasers, scrubbing sheen, ammonia |
| Stained wood | Soap with the grain, occasional polish | Standing water, oil soap buildup, wax |
| Laminate / thermofoil | Mild soap, gentle all-purpose spray | Solvents, heat, soaking the seams |
| High-gloss / acrylic | Soft cotton cloth, soap, light touch | Dry wiping, microfiber on acrylic, glass cleaner with ammonia |
Painted cabinets
Modern factory-painted doors wear a hard, baked-on coat far tougher than wall paint — but the sheen is the vulnerable part. Scrub a spot hard enough and it turns visibly duller than the surrounding door, permanently. Wipe gently, clean spills fast, and keep a manufacturer touch-up kit on hand for chips rather than sanding or repainting a whole door.
Stained wood cabinets
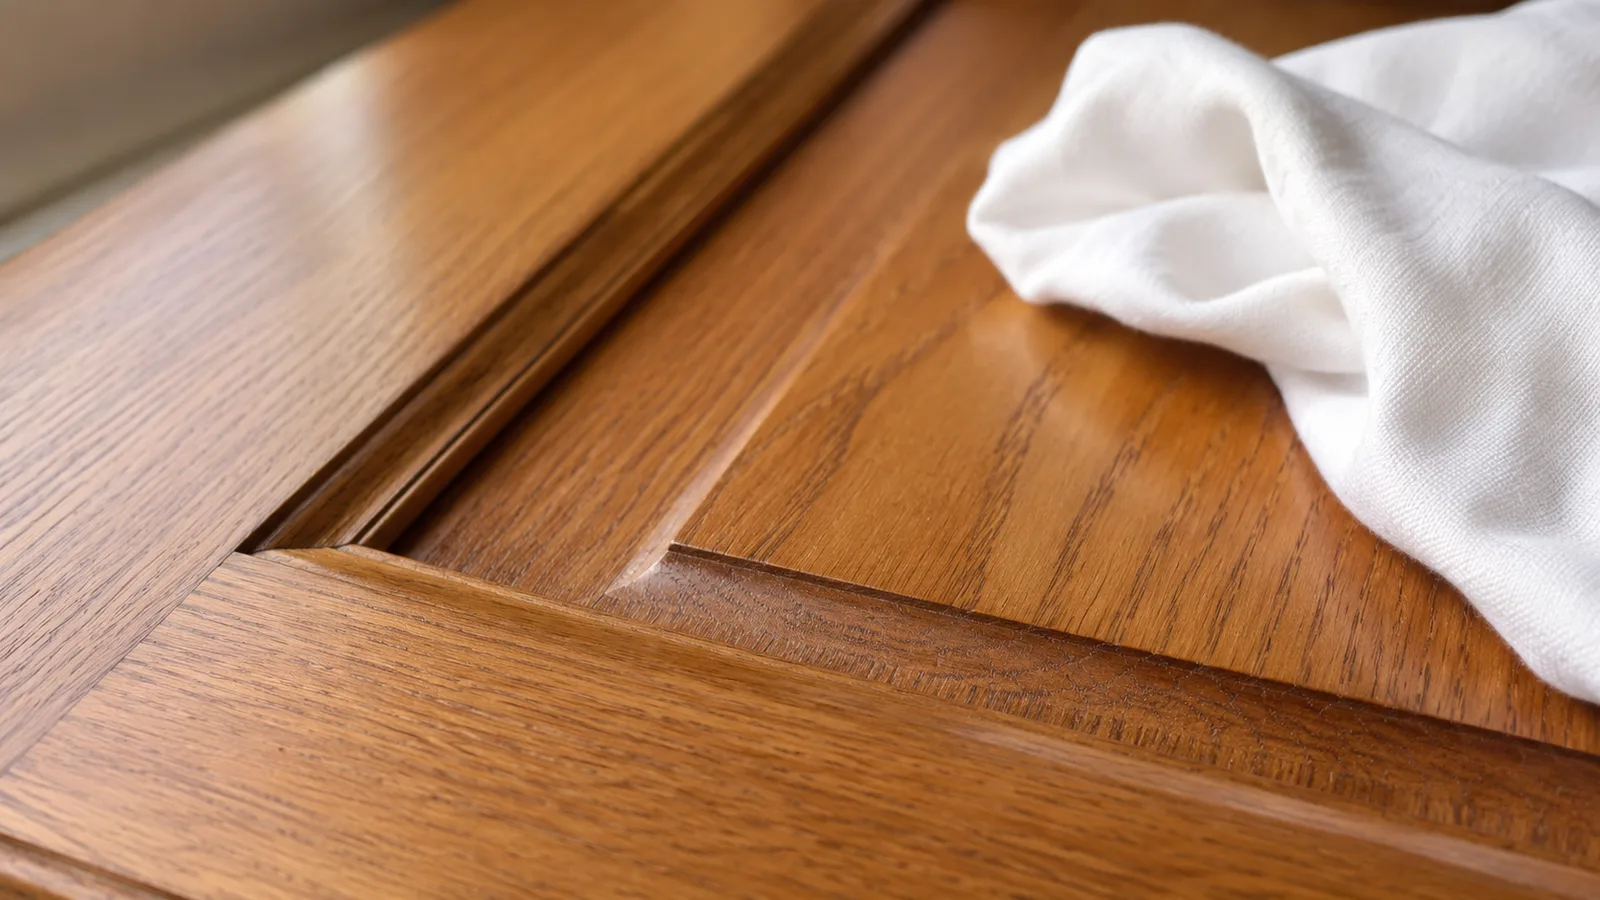
Stained maple, oak, and walnut doors are sealed under clear protective varnish, so you're cleaning the topcoat, not raw wood. Wipe with the grain so any micro-marks disappear into it. Skip the old-school oil soaps and spray waxes as a routine: they build a soft, sticky film that attracts more grease and complicates any future touch-up work. If the wood looks dry, a quality furniture polish once or twice a year is plenty.
Laminate and thermofoil cabinets
The easiest finish to clean — the surface is nonporous plastic — and the easiest to wreck at the edges, where the skin is glued to the core. Keep water away from seams, never use acetone or solvent cleaners, and watch heat: thermofoil doors next to a wall oven or self-cleaning range can soften and peel, so use the appliance's heat shields and don't aim a steam mop anywhere near them.
High-gloss and acrylic cabinets
Gloss shows everything, including cleaning damage. Dry-wiping grinds dust into micro-scratches, and standard microfiber can haze true acrylic faces — use a soft, damp cotton cloth, soap and water, and pat dry. Skip ammonia-based glass sprays even though the surface looks like glass.
How to Remove Grease and Sticky Buildup
Cooking grease is the reason "my cabinets feel sticky even after cleaning." Airborne oil settles on doors — heaviest around the range — mixes with dust, and slowly polymerizes into a gummy film that plain wiping smears around. Escalate in this order, stopping at the first level that works:
- Hot (not warm) soapy water. Fresh grease dissolves in dish soap — it's what the soap was invented for. Two passes with a rinse between often ends the story.
- Baking soda paste on the stubborn spots. Mix with water to a toothpaste consistency, apply with a cloth (never a scouring pad), work gently, rinse well. Mildly abrasive — this is spot treatment, not a whole-door method.
- A cabinet-safe degreaser as the last resort. Choose one labeled for wood cabinet finishes, test it inside a door first, follow the dwell time exactly, and rinse. Skip citrus-solvent and "orange oil" products on painted doors.
Then fix the source: run the range hood every time you cook — grease that gets exhausted never lands on a door. If a door's finish is already worn through or gummy beyond saving, that's usually the moment to price options; our guide to whether cabinet refacing is worth it walks through repair-versus-replace honestly.
Cleaning Mistakes That Ruin Cabinets
Every one of these shows up in kitchens we're asked to rescue:
- Magic erasers. Melamine foam is functionally ultra-fine sandpaper. It removes the mark — and the sheen with it, leaving a flat spot you can't buff back.
- Undiluted vinegar. Straight acid dulls and eventually strips clear coats. If you like vinegar, cut it 1:1 with water, use it on sealed surfaces only, and rinse after.
- Scouring pads and steel wool. Instant, permanent scratches through the protective layer.
- Soaking the doors. Water is the #1 enemy of cabinet joints and edges — damp cloth in, dry towel out, every time.
- Ammonia and bleach sprays. Both attack finishes chemically; bleach also discolors paint and stain.
- Polish and wax buildup. Weekly "feeding" of wood with sprays leaves a soft film that traps grease and smears.
- Steam cleaners. Pressurized hot vapor drives moisture into seams and lifts thermofoil and veneer edges.
- Ignoring the test-spot rule. Any new product goes inside a door for 24 hours before it touches a visible face.
Long-Term Maintenance Tips
Beyond cleaning, ten minutes a season keeps cabinets working and looking new for decades:
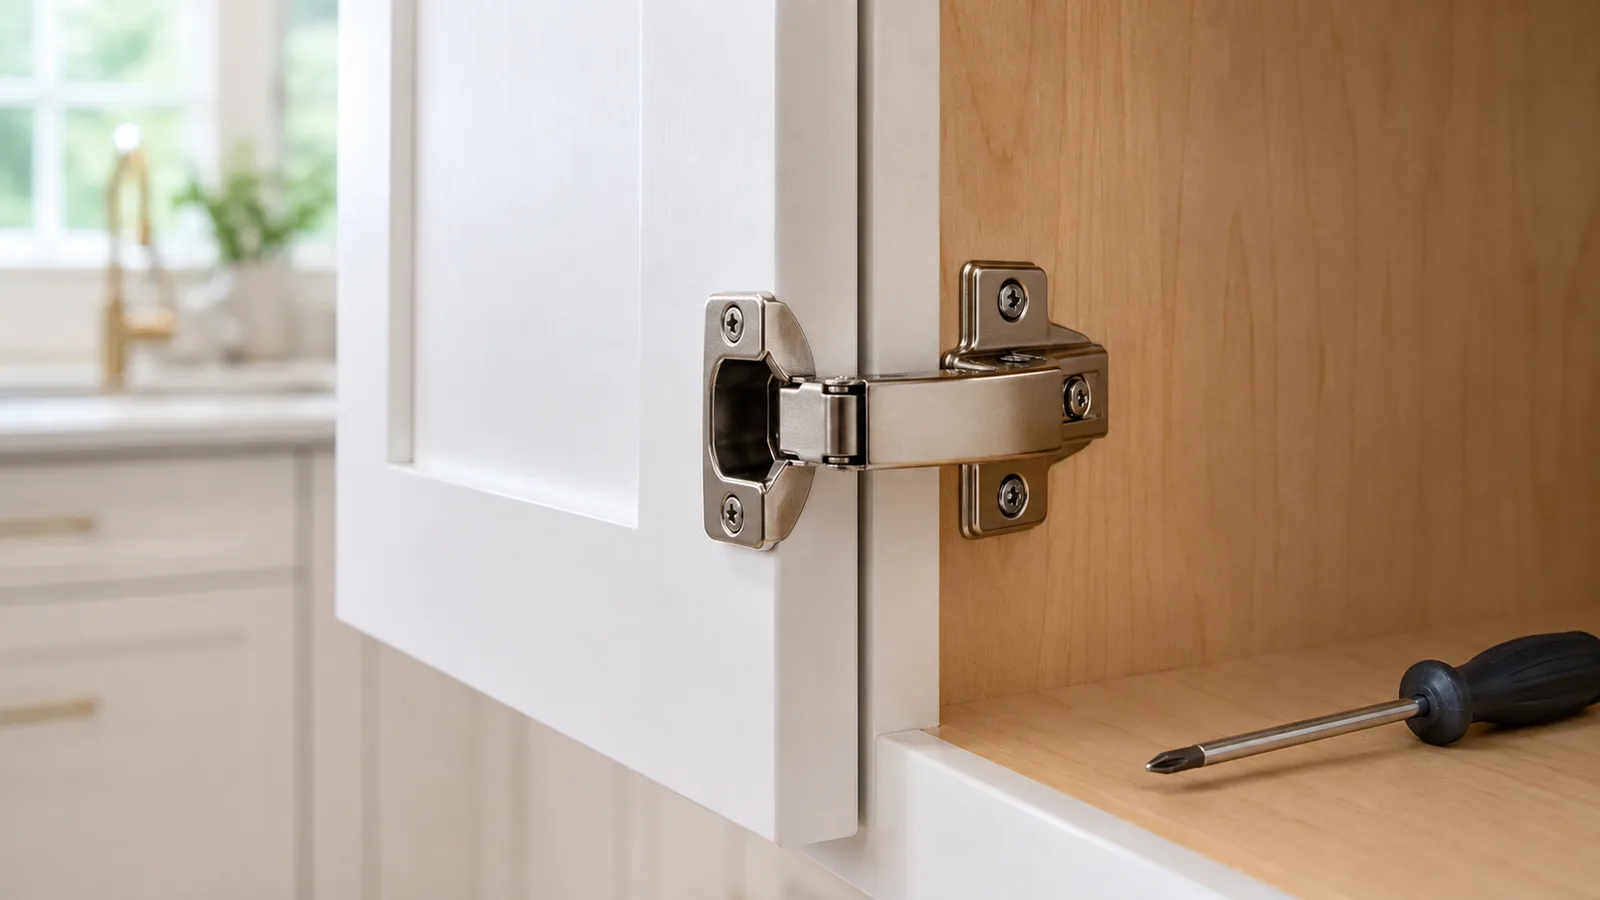
- Tighten hinges and handles once or twice a year. Loose hardware wobbles, and wobble wears finish and screw holes. Soft-close hinges usually have simple 3-way adjustment screws to re-square a sagging door.
- Re-stick door bumpers. Those small clear pads stop doors from slapping the frame; they cost pennies and vanish over time.
- Mind steam and heat sources. Open the dishwasher after the dry cycle ends, use the range hood, and pull kettles and air fryers out from under wall cabinets while running.
- Don't hang wet towels over doors. The classic slow-motion water damage — moisture wicks straight into the bottom edge.
- Watch sunlight. Strong daily sun fades stained and painted finishes unevenly; UV-filtering window film or a shade protects the run that faces the window.
- Line the sink base. A waterproof mat under the plumbing catches the drips you won't notice until they've swollen the cabinet floor.
- Touch up chips early. A manufacturer touch-up marker or fill stick sealed over a chip stops moisture from getting under the surrounding finish.
- Vacuum interiors seasonally, and wipe shelves before restocking — grit under sliding dishes scratches shelf finishes too.
Well-made cabinets make all of this easier — durable factory finishes, soft-close hardware that protects doors from slamming, and edges that stay sealed. That's a big part of why we're picky about the brands and cabinet collections we stock at Captivating Cabinets. If your current doors are past the point of cleaning — worn finish, swollen edges, peeling thermofoil — contact us or call 609-900-3358 and we'll help you weigh refinishing against replacement, including a free 3D design and itemized quote if it comes to that.
Frequently Asked Questions
What is the best thing to clean kitchen cabinets with?
A few drops of mild dish soap in warm water, applied with a wrung-out microfiber cloth, then rinsed and dried. It's safe on painted, stained, laminate, and high-gloss finishes, and it handles the vast majority of everyday dirt and grease.
How do you get thick grease off kitchen cabinets?
Start with hot, soapy water and two passes. For remaining sticky spots, work a baking soda paste gently with a cloth, then rinse. Only escalate to a cabinet-safe degreaser — tested inside a door first — if soap and baking soda fail.
Can you use vinegar on wood cabinets?
Diluted 1:1 with water, vinegar is generally safe on sealed, finished wood as an occasional cleaner — always followed by a plain-water rinse. Undiluted vinegar is acidic enough to dull and slowly strip clear coats, so never use it straight.
Can I use a Magic Eraser on my cabinets?
We recommend against it. Melamine foam works by micro-abrasion — essentially very fine sandpaper — and it will flatten the sheen of painted and glossy finishes, leaving dull patches that can't be polished back.
How often should kitchen cabinets be cleaned?
Spot-clean spills immediately, wipe high-touch areas (handles and the doors near the range and sink) weekly, clean all cabinet faces monthly, and do a deeper pass — interiors, hardware tightening, edge inspection — once or twice a year.
Why are my cabinets still sticky after cleaning?
Either aged cooking grease that plain wiping just smears, or residue built up from oil soaps and spray polishes. Degrease properly with hot soapy water (then baking soda paste if needed), rinse well, dry — and retire the polish sprays going forward.

Written by
Noor K.Technology Manager at Captivating Cabinets
Noor manages and develops the Captivating Cabinets website, and writes practical guides on cabinet styles, finishes, pricing, and remodel planning.
Get a free 3D design + quote
- Your layout rendered in 3D, with an itemized quote
- Back in 3–5 business days
- Free, and yours to keep either way
Recent Articles

September 10, 2026
Cabinets for Property Managers and How to Standardize Unit Turns

September 10, 2026
Cabinets for Developers Building Spec Homes and Small Communities

September 9, 2026
Cabinets for Remodelers and How to Keep an Occupied Kitchen on Schedule

September 9, 2026
Wholesale Kitchen Cabinets for Contractors Without a Showroom Markup

September 9, 2026
Choosing a Multi-Family Cabinet Supplier for Unit Turns and Phased Deliveries


