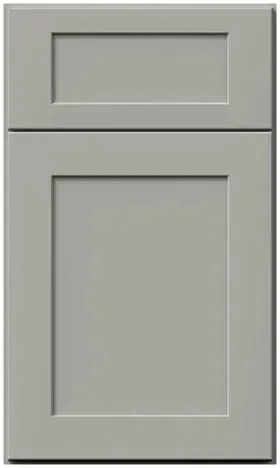


Wall-mounted by definition: the plain Galaxy Nickel hood, and the four questions that send you to another shape
Reviewed September 2026 · Captivating Cabinets
This is the page the plain box lands on, and it is also the page to read first if you have not decided which shape you want, because four of the five shells listed in this finish are variations on what is here. A wall-mount hood is a canopy that hangs off a wall over a cooktop set against that wall. That single sentence rules out more kitchens than people expect, sizes the cabinets either side, and decides whether the rest of the hood shopping is even relevant. So: what it rules out, what the three widths cost, how it sizes the wall around it, and then the four questions that should push you onto one of the other four hood pages.
What “wall-mount” rules out before you look at a single shape
A wall-mounted hood is fixed to the wall and, on most installs, supported by the structure behind the drywall. It takes its duct straight up through the cabinet space above it or straight back through the wall, and it needs the cooking surface directly beneath it and hard against that wall. If your cooktop is in an island or a peninsula, this is the wrong product family and there is no island hood in this finish: an island unit is suspended from the ceiling, is finished on all four sides rather than three, and carries its own structural and duct requirements. Nor is there a downdraft, an over-the-range microwave or an under-cabinet insert on this collection. Every shell listed here hangs on a wall.
That sounds like a limitation and is mostly a relief, because the wall install is the one with the shortest duct and the fewest compromises. The run goes up and out, or back and out, and both are short. An island hood, by contrast, has to get its duct through a ceiling and across a joist bay, which is where the airflow loss and the framing arguments start. If the layout is still movable, a cooktop on an exterior wall is worth more than most of the upgrades on this page — the kitchen layouts guide is the place to test that before the plan is frozen.
Three widths, and the flattest price ladder on the hood list
The plain shell is listed in three sizes and nothing else. There is no 30″ version — this family starts at 36″, which is worth knowing if you are shopping a 30″ range and want the narrowest possible hood, because that puts you on the chimney, designer or slim pages instead. It is also one of only two families that reaches 48″, and it is the cheaper of those two by a wide margin.
| Width | SKU | Displayed price | List price |
|---|---|---|---|
| 36″ | GNK RHA363021 | $2,418.00 | $3,720.00 |
| 42″ | GNK RHA423021 | $2,502.50 | $3,850.00 |
| 48″ | GNK RHA483021 | $2,596.75 | $3,995.00 |
Look at the spread rather than the prices: $178.75 buys twelve extra inches of hood, which is the flattest width ladder anywhere in the hood list and one of the flattest in the catalogue. On almost every cabinet we sell, width is the expensive dimension. Here it is nearly free. The practical consequence is that if the wall will take the wider shell, take it — the extra overhang is the one dimensional change that measurably improves capture, and here it costs less than a set of pulls.
One difference from the other four families: this is the only shell with no wood-tone variant listed at all. The chimney and designer shapes list a Timber version, the slim and curved-glass shapes list Timber and Walnut, and all of those sit at the same price as the standard. If the plan was to make the hood the room’s one warm object, this page cannot do it and one of the others can.
Size it to the wall, not to the range: the hood, the cabinet above and the filler each side
The parent hood article settles how wide the canopy should be relative to the cooking surface. What it does not do, and what this page is for, is the arithmetic on the other side of that decision: whatever you give the hood comes out of the cabinets either side of it, and those cabinets are ordered in three-inch increments off a fixed width ladder. A hood is not a piece of trim that absorbs a remainder. It is a fixed dimension dropped into the middle of a wall, and the two leftover pieces have to be real cabinets.
Work it as a subtraction, with the range centred on the wall: wall width, minus hood width, divided by two, is what each flank has to hold. Then find the cabinet widths that land inside that number and let filler take the difference.
| Wall, inside to inside | Cooking surface | Hood we would fit | Left each side | What the flank can hold |
|---|---|---|---|---|
| 108″ | 30″ range | 36″ — GNK RHA363021 | 36″ | A 33″ upper and 3″ of filler, or two 15s and a filler |
| 120″ | 30″ range | 36″ — GNK RHA363021 | 42″ | A 36″ upper plus filler, or a 24 and a 15 |
| 126″ | 36″ range | 42″ — GNK RHA423021 | 42″ | A 36″ upper and filler, or a 21 and an 18 |
| 132″ | 36″ range | 48″ — GNK RHA483021 | 42″ | Identical flanking cabinets to the row above, six more inches of canopy |
That last row is the argument for the widest shell in one line. Going from the 42″ to the 48″ hood on a wall with the room for it costs $94.25 and changes nothing about the cabinets beside it. Going the other way — squeezing a 42″ hood onto a wall that only supports 36″ of flank each side — costs you a cabinet size on both ends, which is roughly ten per cent of the wall’s storage, and you notice that every day.
Always plan filler beside the hood rather than hoping the numbers land clean. Walls are not square, hood bodies carry their own tolerances, and a run drawn to the last sixteenth is a run that has to be cut on site. Two or three inches of filler each side is cheap insurance; the end panels, scribe and filler guide covers how it is actually scribed in. Filler for this finish is on the loose parts and decorative pages.
The cabinet above the hood, and the three ways that gap gets closed
Above the canopy there is a strip of wall between the top of the hood and the ceiling, and it is the part of the elevation people forget to draw. There are three ways to close it, and which one you pick has cost and duct consequences.
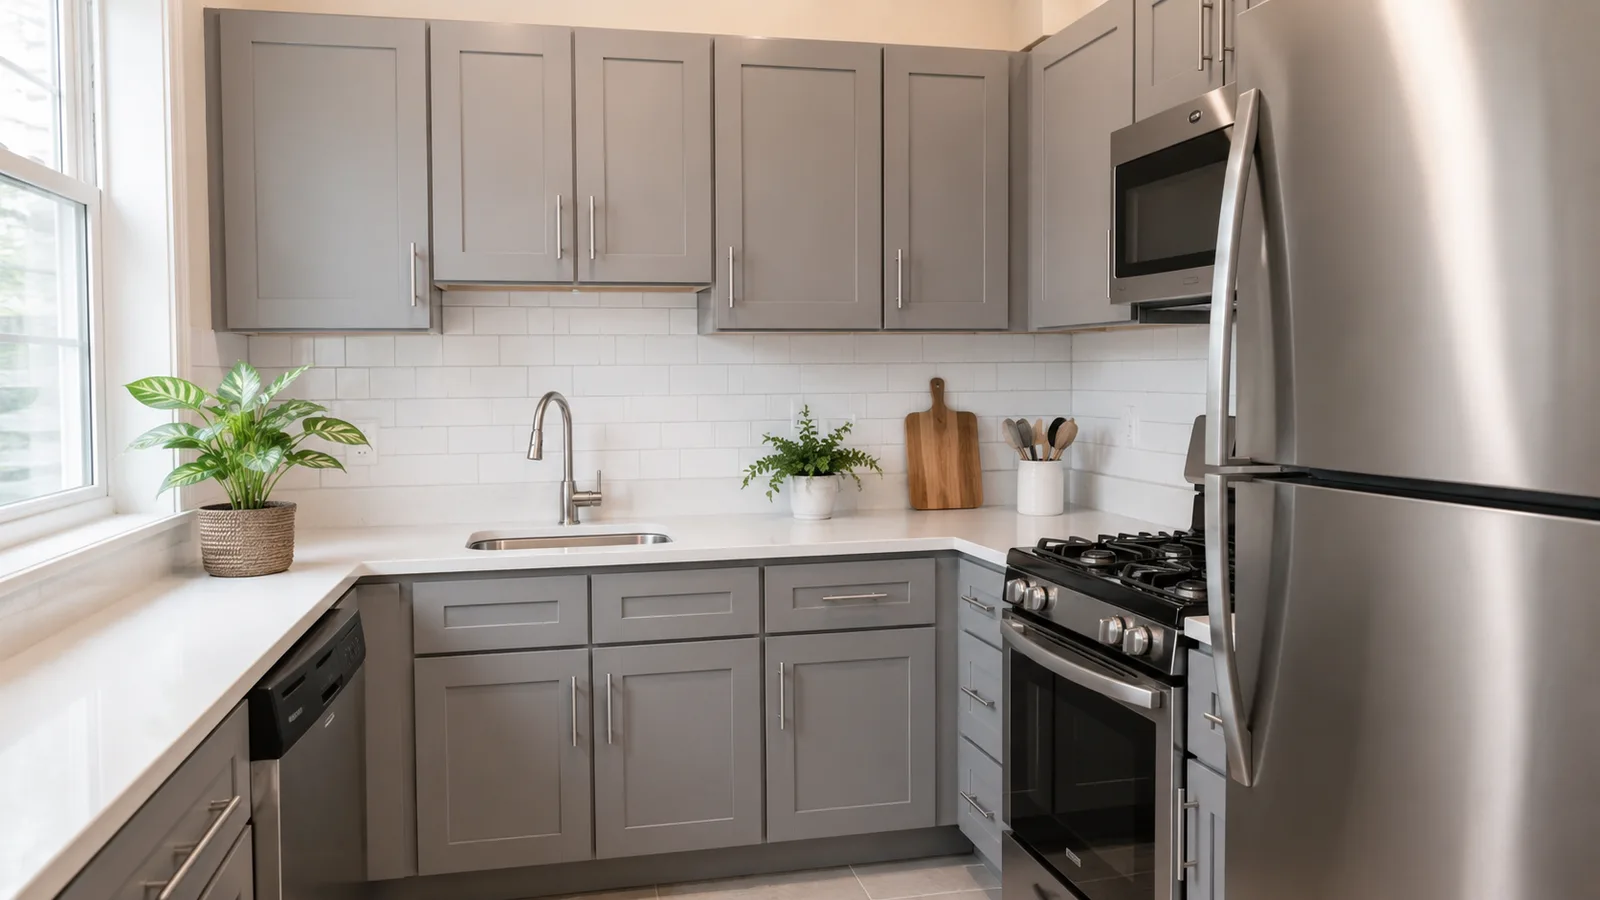
A short bridge upper over the hood is the traditional answer — the 10x10 package on this finish includes a 12″-high wall cabinet over the range for exactly this reason. It gives you a shelf, the run reads as continuous, and the duct passes up behind it. It does need coordinating: the cabinet has to match the hood width, and the duct has to have somewhere to go. The second option is a duct cover, the telescoping trim that encloses the pipe from the top of the hood to the ceiling — one SKU here, GNK RHBB DCT at $263.25, and it is sized to the ceiling rather than to the hood. The third is to leave it open and tile or plaster the wall to the ceiling, which looks deliberate when the hood is a strong shape and unfinished when it is not.
On a standard eight-foot ceiling the gap is usually small enough that the bridge cabinet is the neat answer. Above that the gap grows fast, and a plain shell with three feet of bare wall above it stops reading as a designed element. That is the point at which the chimney shape starts to earn its money, because its whole purpose is to fill that vertical.
Four questions, and where each one sends you
If the plain box is not obviously right, it is usually because of one of four things. Each has a different answer, and each answer is a different page.
If none of the four applies, buy the plain one and put the difference into the blower. That is the recommendation, and the rest of this page exists so that it is an informed one rather than a default.
Is the ceiling above eight feet?
Then the wall above the hood is the problem, not the hood. The chimney shape is drawn to run up to the ceiling and turn that dead vertical into a deliberate element. It lists at 30″, 36″ and 42″ from $2,609.75, and the ceiling height is what sizes the stack — which is a whole decision of its own.
Is the ceiling low, or is there a soffit?
Then you want less canopy in the air, not more. The slim shells sit from $2,785.25 and are drawn to keep the eye-level run reading as one continuous line rather than a break in the middle of it. They ask for three compensations in return.
Is the range wall the first thing anybody sees?
Then the money is arguably well spent on shape. The designer shells run $3,812.25 to $4,277.00 and are the most decorative object in the finish. They also move exactly the same air as the plain box, which is a sentence worth reading twice before the order goes in.
Has the rest of the kitchen already gone contemporary?
Then the curved glass canopy is the only shell here that will not look like a compromise. From $3,532.75, and it comes with a weekly cleaning obligation that a painted wood canopy does not.
Common questions
- Can a wall-mount range hood be used over an island?
- No. A wall hood is finished on three sides, fixed to the wall and usually supported by the framing behind it; an island hood is suspended from the ceiling and finished on four. Nothing in this finish is an island unit. If the cooktop is going in the island, settle that before the cabinet order.
- What size range hood do I need for a 36 inch range?
- Thirty-six inches is the floor and forty-two is the better answer, because the overhang each side is what catches the plume rolling off the front burners. Here the 42″ shell is $84.50 more than the 36″, so the real cost is the three inches of upper cabinet it takes from each flank, not the price.
- Why does the plain hood start at 36 inches?
- That is simply where this family is listed — GNK RHA363021, RHA423021 and RHA483021, and no 30″ version. If you need a 30″ canopy, the chimney, designer and slim families all list one. If you need 48″, only this family and the curved glass shells go that wide.
- Do I need a cabinet above the range hood?
- Not necessarily, but the wall above it has to be resolved somehow. A short bridge upper matching the hood width is the usual answer on an eight-foot ceiling; a duct cover at $263.25 is the answer when the gap is tall; tiling to the ceiling is the answer when the hood is a strong enough shape to stand alone.
- How much filler should I allow beside a range hood?
- Plan two to three inches each side rather than drawing the run to the last sixteenth. Walls are rarely square, hood bodies carry tolerances, and filler is the cheapest part on the order. A run with no filler in it is a run somebody cuts on site.
- Is the plain hood a downgrade?
- Only in appearance, and only if the wall is on show. It takes the same blower, the same duct cover and the same filters as every other shell here, so it ventilates identically. It is the shape to buy when the money is better spent on airflow, on the backsplash, or on a wider canopy.
Keep reading
The guides behind the numbers on this page.
- Important Kitchen Dimensions Before Buying Cabinets
The clearances that fix the hood height and the cabinet above it.
- Kitchen Layouts Guide
Whether the cooktop can stay on a wall, which is the whole premise of this page.
- Kitchen Island Clearance Guide
Read this before moving the cooking surface into the island.
- Cabinet End Panels, Scribe Molding and Fillers Explained
How the leftover inches beside the hood are actually closed up.
- Wall and Tall Kitchen Cabinets: Sizes and Buying Guide
The width and height ladder the flanking cabinets are ordered from.
- Gray Kitchen Cabinets: Finding the Right Shade
How this mid-tone behaves on the biggest painted face in the room.
- How Much Do Fabuwood Cabinets Cost
Where a hood sits against the rest of a kitchen budget.
- Free 3D Kitchen Design
Send the range model and the wall comes back drawn with the flanks sized.


